
How to Program a Garage Door Remote (Any Brand)
Programming a garage door remote sounds technical, but for almost every modern opener it comes down to one thing: pressing a small learn button on the motor unit, then pressing the button on your remote. That's the whole trick. The details shift a little between brands, and that's where people get stuck.
This guide covers the general method that works on nearly any opener, then the brand-specific notes for LiftMaster, Chamberlain, Genie, and Craftsman. It also walks through reprogramming after a battery change, adding a new remote, wiping all remotes for security, and what to do when a remote just won't sync.
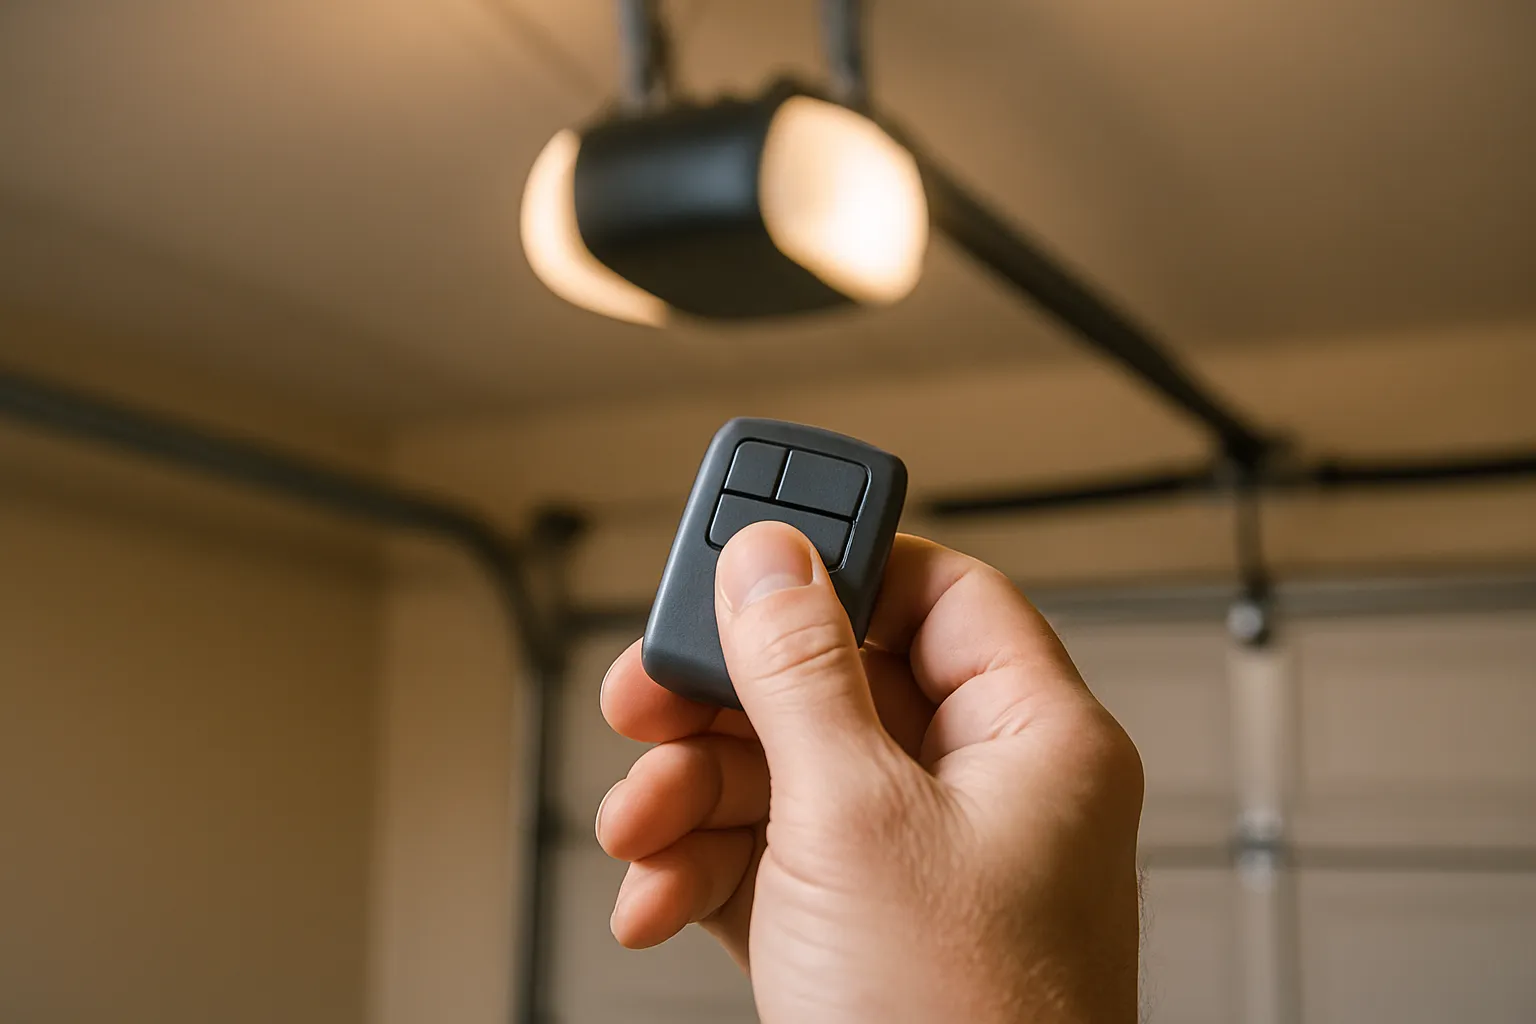
The Learn Button: How Almost Every Opener Works
Since the mid-1990s, most garage openers use rolling-code security. Instead of a fixed code, the opener and remote agree on a new code every time you press the button, so a thief can't record and replay it. To set that up, the opener has to learn your remote once. Here's the universal method:
- Find the learn button on the motor unit. Look on the back or side of the opener up on the ceiling, usually near the hanging antenna wire. It's often hidden under the light lens cover, so you may need to slide or lift that off.
- Press and release the learn button. A small LED next to it lights up. This opens a roughly 30-second window, so have your remote in hand.
- Press the remote button you want to use, once or twice. The opener light will blink or you'll hear a click, confirming it learned the remote.
- Test it. Press the remote from a few feet away. The door should move.
That's it for most units. If nothing confirms within 30 seconds, the window closed. Just press the learn button again and repeat.
LiftMaster and Chamberlain (Yellow or Purple Learn Button)
LiftMaster and Chamberlain are made by the same company, so they program the same way. Newer models have a yellow learn button (Security+ 2.0), and slightly older ones have a purple, red, orange, or green button. The color tells you the security generation, but the steps are identical:
- Press and release the learn button. On yellow-button models the round LED lights up; on colored-button models a small LED near it lights.
- Within 30 seconds, press the remote button. The opener lights blink to confirm.
- Test the door.
One tip for LiftMaster and Chamberlain: if you have a wall control panel with its own button, some models let you program remotes right from it, but the motor-unit learn button always works and is the reliable path.
Genie (Intellicode) and Craftsman
Genie openers use a system called Intellicode, and the learn button is often labeled Program Set or just a round LRN button, sometimes a square blue or red button. The rhythm is a little different: on many Genie units you press the program button, wait for the round LED to glow, then press the remote button twice, not once. The garage light flashing tells you it took.
Craftsman openers are mostly made by the same manufacturer as LiftMaster and Chamberlain, so they follow the yellow or colored learn-button method above. Older Craftsman units may use dip switches instead of a learn button, in which case you match the switch pattern inside the remote to the pattern in the opener rather than pairing electronically.
Across all brands, the exact button name and blink pattern vary by model, so if your unit doesn't behave exactly like this, check the label on the motor unit or the manual for your model number.
Reprogramming After a Battery Change or Adding a New Remote
Two of the most common reasons people pull out this guide:
- After a battery change. On most openers you do not need to reprogram a remote just because you swapped its battery, the rolling code is stored in the remote's chip. If a remote does go dead after a new battery, run the learn-button steps again to re-pair it. Same goes for a wireless keypad, which our keypad troubleshooting guide covers in detail.
- Adding a new or extra remote. Adding a remote uses the exact same learn-button process. Press learn, press the new remote within 30 seconds, done. You do not have to erase your existing remotes to add one, the opener holds several at once. If you've hit the memory limit, adding a new one may bump the oldest.
Erasing All Remotes for Security
If you buy a home, lose a remote, or sell a car with a built-in HomeLink opener still paired, wipe the opener's memory so the old remotes stop working. This is a genuine security step worth doing when you move into a new place.
- Press and hold the learn button on the motor unit for about 6 to 10 seconds, until the LED next to it goes out.
- When the LED turns off, every remote, keypad, and HomeLink pairing has been erased.
- Reprogram the remotes you want to keep using the standard learn-button steps above.
Do this before you toss any old remotes or hand over a car. Until you erase memory and re-pair, assume any previously programmed remote can still open your door.
When It Won't Sync: Quick Troubleshooting
If you've pressed the learn button and the remote still won't work, run through these:
- Dead remote battery. The most common cause. A weak battery can light the remote LED but not send a strong enough signal. Try a fresh one before anything else.
- Out of range or timed out. Stand within a few feet of the opener while pairing, and finish pressing the remote inside the 30-second window. If it lapsed, press learn again.
- Learn button pressed too long. A quick press and release pairs a remote; holding it 6+ seconds erases memory. If your remotes suddenly all stopped, you may have wiped them and just need to re-pair.
- Incompatible remote. A remote has to match your opener's frequency and security type. A Genie remote won't pair to a LiftMaster, and a fixed-code remote won't work on a rolling-code opener. Check that the replacement lists your brand and model as compatible.
- Weak or broken antenna wire. The thin wire hanging from the motor unit is the antenna. If it's cut, tucked up, or damaged, range drops to almost nothing.
If the remote has a fresh battery, is the right model, and still won't learn, the opener's logic board or receiver may be failing. That's an opener repair rather than a programming issue.
Still Stuck? We're Local in Norwalk
Most remote programming takes two minutes once you find the learn button. But if the button's buried, the LED won't light, or a new remote refuses to pair no matter what, the opener itself may be the problem, and that's where a hands-on look saves you the guesswork.
We work on Chamberlain, LiftMaster, Genie, and Craftsman openers every day across Norwalk and nearby SE LA County. Call (562) 667-4784 and we'll get your remotes, keypad, and opener synced up, or handle a full opener repair if the receiver is shot. Locked out right now with a car stuck inside? Our emergency garage door repair line can get someone out fast.
Questions, Answered
Where is the learn button on my garage door opener?
On the motor unit up on the ceiling, usually on the back or side near the hanging antenna wire, and often hidden under the light lens cover. It's a small colored button (commonly yellow or purple on LiftMaster and Chamberlain, and a Program Set button on Genie) with an LED beside it that lights when you press it.
Do I need to reprogram my remote after changing the battery?
Usually not. The rolling code is stored in the remote's chip, so a battery swap alone doesn't erase it. If the remote does stop working after a new battery, just run the learn-button pairing steps again to re-sync it to the opener.
How do I add a second remote without erasing the first?
Use the same process: press and release the learn button on the motor unit, then press the new remote's button within 30 seconds. The opener holds several remotes at once, so your existing ones keep working. You only wipe remotes if you hold the learn button for 6 or more seconds.
How do I erase all remotes from my garage opener?
Press and hold the learn button on the motor unit for about 6 to 10 seconds until the LED goes out. That clears every paired remote, keypad, and HomeLink. Then reprogram only the remotes you want to keep. It's a smart move when you move into a new home or sell a car with a built-in opener.
Why won't my new remote program to the opener?
Check the battery first, then make sure you're within range and finishing inside the 30-second window. Confirm the remote is compatible with your opener's brand, frequency, and rolling-code security. If a correct, fresh remote still won't learn, the opener's receiver may be failing, which needs a repair rather than reprogramming.
Can I program any brand of remote to any opener?
No. The remote has to match your opener's frequency and security type. A Genie remote won't pair to a LiftMaster, and an old fixed-code remote won't work on a rolling-code opener. Use a remote made for your brand and model, or a universal remote that specifically lists your opener as compatible.
Need Help in Norwalk?
Garage Door Pro Norwalk provides fast, same-day garage door repair across Norwalk, CA and the surrounding area — flat-rate pricing, licensed and insured, with 24/7 emergency service. Landed on this article from a search? Head back to our homepage to see everything we do, or reach out now.